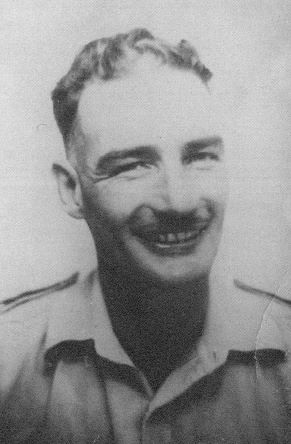
The
Coleraine
1939 - 1945
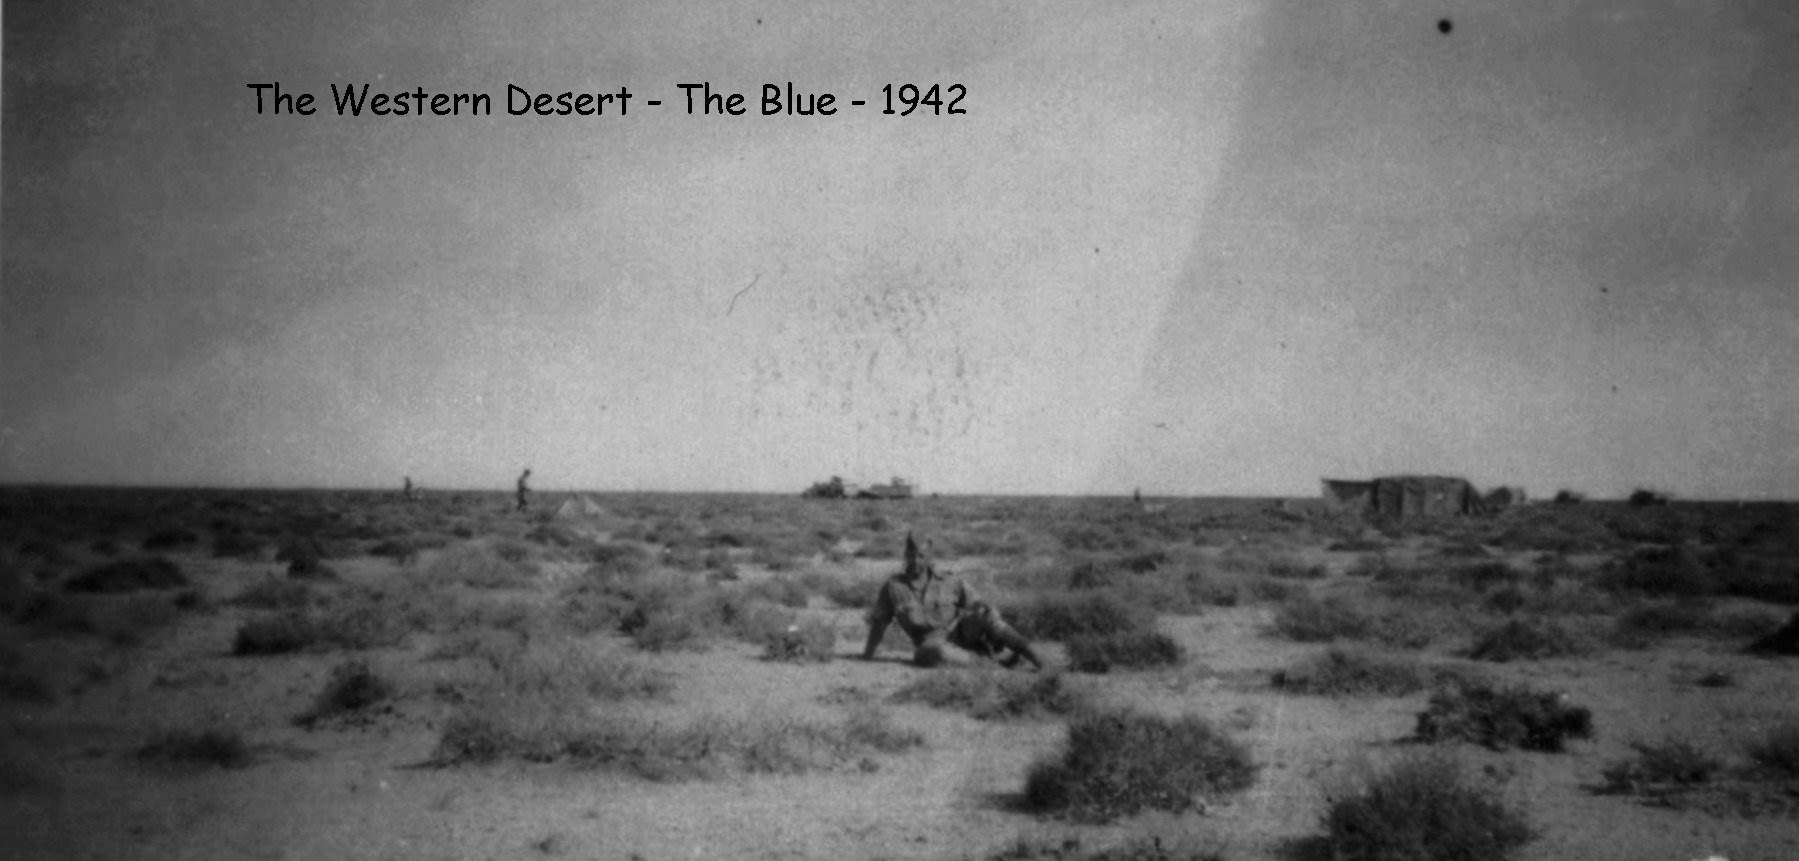
Area of Operation This campaign was
to be fought in
|
|
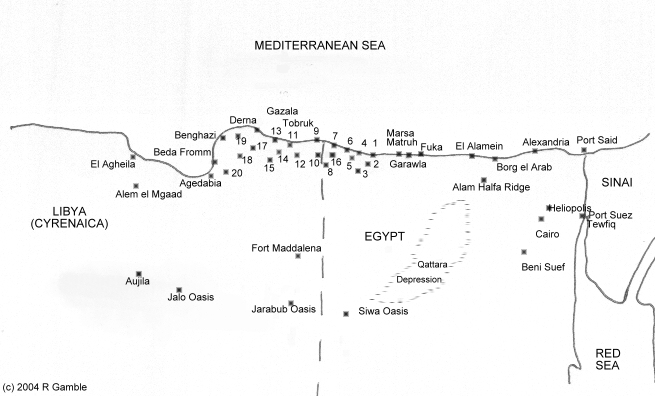
|
1 Maktila |
2 Nibeiwa |
3 Sofafi |
4 Sidi
Barrani |
5 Tummar |
|
6 Bugbug |
7 Sollum |
8 Sidi
Omar |
9 Bardia |
10 Capuzzo |
|
11 Tobruk |
12 Sidi Rezegh |
13 Gazala |
14 El Adem |
15 Bir Hacheim |
|
16 Sollum & |
17 Mechili |
18 Msus |
19 Barce |
20 Antelat |
Operational Role The operational role of the
· Mobile Patrolling (Jock Columns)
· AA and Ground Fire Support to Special Forces
· AA Support to Field Guns
· Railway Defence
· Train Defence
· Road Defence
· Army HQ Protection
· Airfield Defence
· Harbour Defence
Below is a synopsis of the
|
Date |
Deployment/Attachment |
Location |
|
July 21st '41 |
Reserve - Preparing for |
|
|
Aug 10th '41 |
X and Z Troops with 2nd LAA Rgt 12th AA Brigade - Airfield Defence |
LG 01 and LG 02 at Sidi Barrani |
|
|
Y Troop with 2nd South African Brigade |
Gerwala |
|
Aug 16th '41 |
Y Troop |
Siwa Oasis |
|
Aug 20/24th '41 |
Battery HQ and X Troop on the move/ 7th Indian Infantry Brigade |
Siwa Oasis |
|
Aug 20th '41 |
Z Troop |
LG 05 |
|
Aug 24th '41 |
X Troop - LAA Defence - 6th Sikhs |
Jarabub Oasis |
|
Aug 21/26th '41 |
Y Troop along with South African Armoured Cars |
Desert Patrol |
|
Late Aug '41 |
Z Troop - 7th Indian Infantry Brigade |
Jarabub Oasis |
Because of the dynamic role the
|
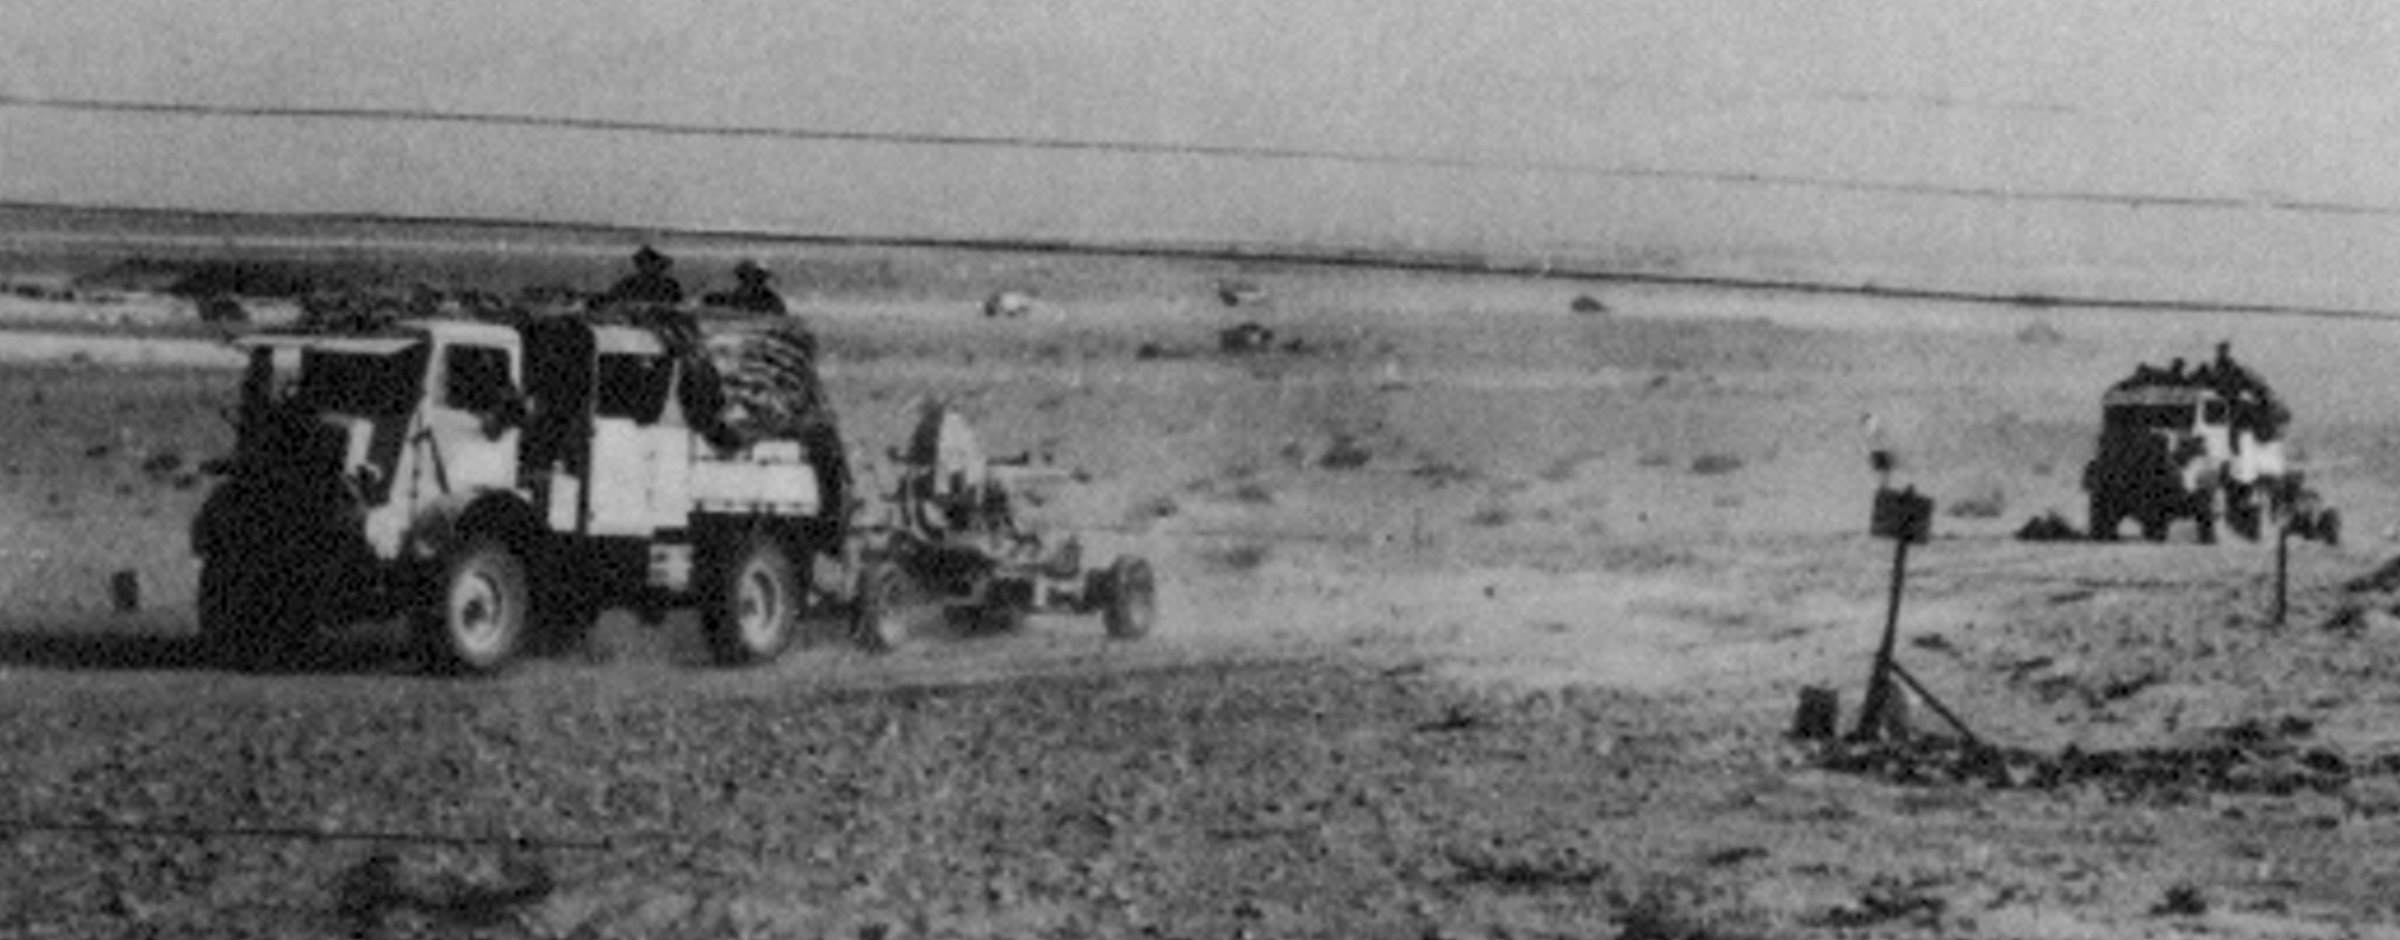
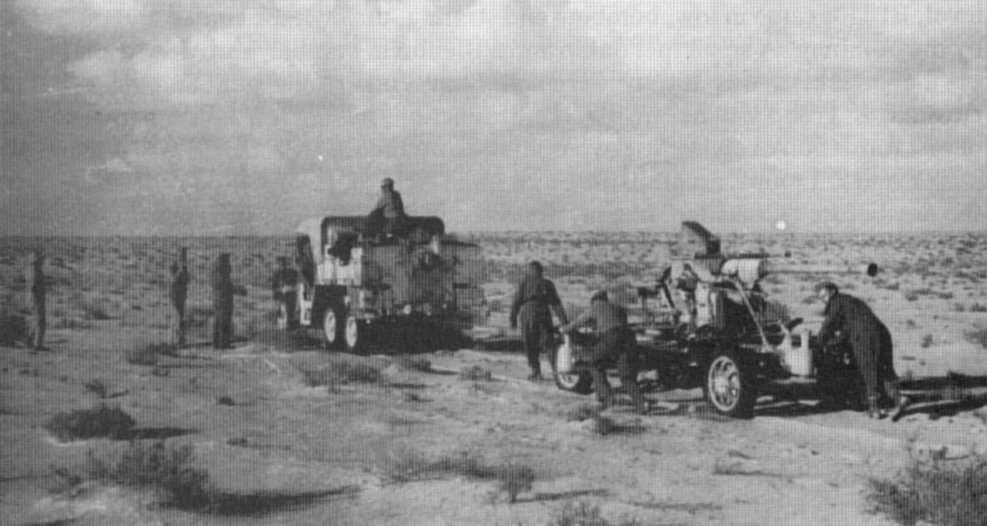
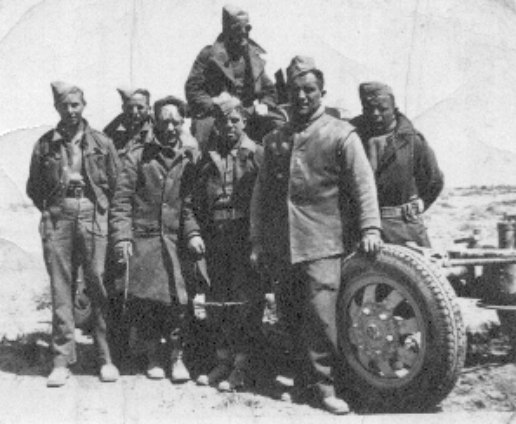
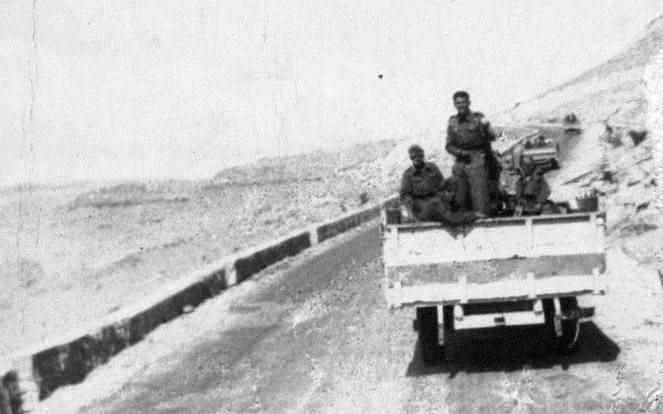
Tow Truck and Bofors Gun Early on in the desert war, the |
Mobile Patrolling (Jock Columns)
"Each Troop was designated to different areas of the desert, depending on
the requirement for Light Anti Aircraft Defence. As well as
carrying out these static tasks, the Battery were also expected to 'up sticks'
at short notice and carry out aggressive patrolling in the
No way can you depend on airborne insertion in the desert. You still had to get out of the situation as well. The vehicle wheels had t be modified. Instead of having the ordinary road tyres, more suitable for the muddy roads of England, we used balloon tyres. The pressure was dropped from 30 psi to 25 - 20. That way the tyres spread out and gripped the sand. The first run we made was purgatory. We were constantly using the sand channels and a truck mounted winch to move the guns through the sand. It was tough going, we virtually carried the guns through some parts of the desert. We always thought that one hundred yards was a good distance to travel without digging into the sand.
The tactics developed by the SAS were ours, Hit and Run. Robbie Burns was good at it. I was with him twice. You hit and then ran into the desert for one hour. That was about 20 miles of difficult driving over sandy ground. After the hour you stopped, huddled up and camouflaged your position. If the enemy were going to pursue you or send out aircraft, you had one hour to make your escape." Spanky McGowan (2004)
Ambushing Convoys "You scouted through the desert and found the Italian tracks. These tracks usually indicated the routes they were using to bring forward their stores, equipment and their patrolling routes. Once we had the area plotted out, we placed two guns on one side of the track with limited arcs of fire. Two or three guns were placed forward of these two guns, again with limited arcs of fire.
When the Italian convoys approached, we would let
them go past our camouflaged gun pits. As soon as the convoy entered the gun
arcs, we blasted them, upped sticks and went hell for leather into the desert.
We were caught out twice after this type of ambush. After all, everybody knew
we were in the vicinity and we could only travel for twenty miles into the
desert in any direction. The Italians would send up their twin winged
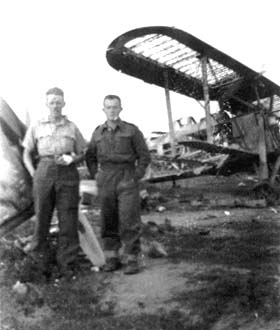
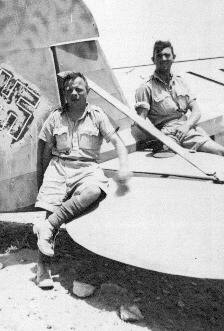
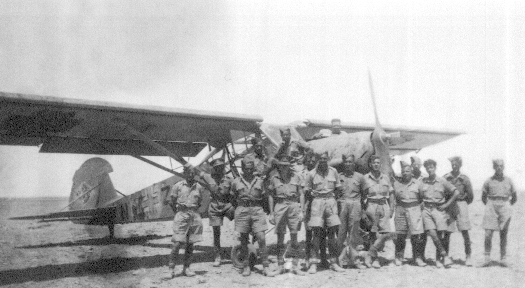
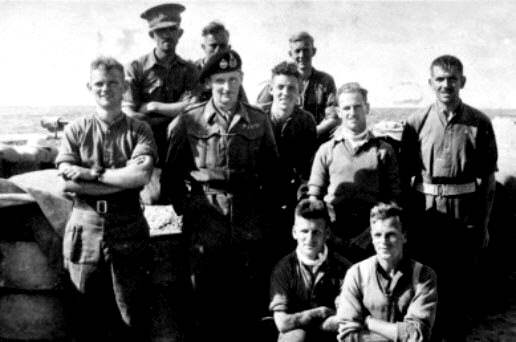
Alan Thompson & Bobby McDonald & Italian Bi-Planes 1942
The Siege of Tobruk On February
27th, 1941, X Troop was at El Tahag Camp near Ismalia. From March 24th, 1941
the
·
Kilo 73/5, the
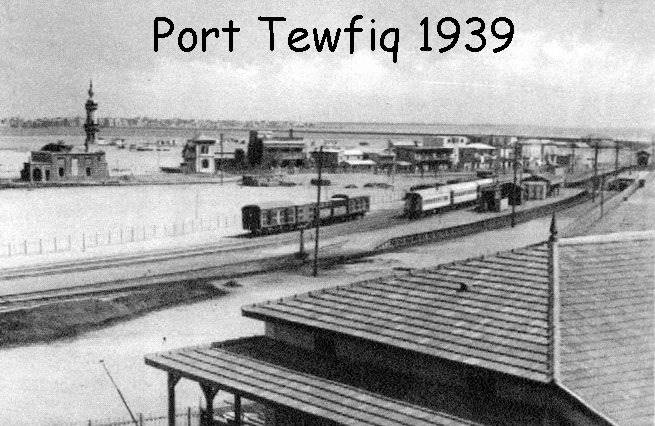
· Port Fouad April 25th 1941
· Port Tewfiq May 5th 1941
·
Kilo 63/5
· Moascan Airdrome May 29th 1941
· Spinney Wood July 5th 1941
· Spinney Wood (E) July 13th 1941
· Moascar Transit Camp July 22nd 1941
·
· Barg El Arab August 10th 1941
· Bagouche August 11th 1941
· Sidi Barani August 12th until 20th 1941
· Khalda August 21st 1941
· Marsah Matruh August 22nd 1941
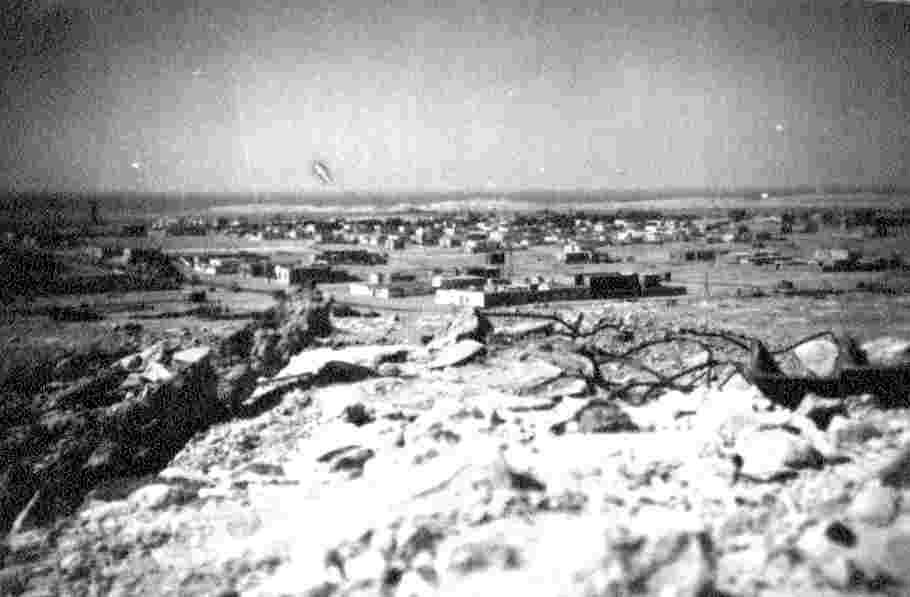
Marsa Matruh - Facing the Sea - 1941
·
After Marsah Matruh, the
· Siwa Oasis August 24th 1941.
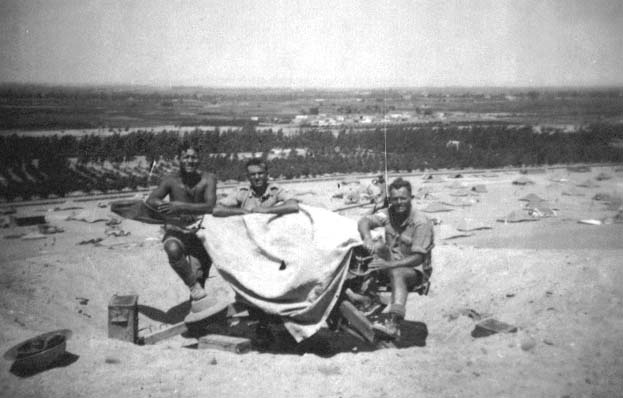
Siwa Oasis
"Siwa Oasis was a marvellous area to be in. There were bubbles of fresh water coming up out of the ground. The bubbles were as big as footballs. The oasis had a stone wall around it. It was also surrounded by palm trees with enormous bunches of dates hanging from them. The dates were soft and as sweet as strawberries." Robin Martin (2004)
Support to Special Forces
"The SAS switched to mobile patrolling after
their initial disastrous airborne assaults resulted in the loss of 70% of their
troops. After that they came to us for a bit of training. The
In the Mobile Warfare role, the SAS concentrated on long range patrols to attack German airfields, supply lines and transport. The Battery concentrated on hit and run tactics against supply transport as well as supporting the infantry.
When L Detachment were getting themselves
organised for Mobile warfare, they took over a camp at El Hag on the
There was a relationship of types between L
Detachment and the
When Blair
"The
"One night we were in position on the Gazala Line, carrying out AA protection of the Polish Brigade Field Guns. At dusk, my gun and three others were given the order to get ready to move. Our guns were fitted out with extra long barrels, called Long Toms. We went out into the desert and travelled at a slow pace. After a couple of hours travel, we were ordered to dig in the guns, camouflage our positions, grab some sleep and not to move or make a sound, even at dawn. When dawn broke, we found ourselves positioned on some high ground overlooking a German airfield which was between two and three miles away"
"We lay there all day watching Stukas landing, refuelling and restocking with munitions from supply transport. These planes took off again as soon as they were replenished. We all speculated on their destination and our tasking. We thought that we were going to shell the place. Instead, we sat there all day, unable to move. On the second night there was a series of explosions on the landing strip. The LRDG had been in after dusk with L Detachment and set a series of bombs. We sat in our hides for a second day, expecting the aircraft to take off in pursuit of the LRDG. Nothing happened that day. The LRDG and L Detachment had caused so much damage the Germans did not counter attack."
"On the third night we took off the camouflage and moved back to the Gazala Line. A three day operation without firing one shot. We were strafed about 3 times altogether when we were out on this type of operation. In all cases, the enemy action only lasted from five to ten minutes.
We never worked directly with the LRDG. All of their operations were secret. We would only be told to be in a certain place at a certain time and provide AA cover to them. When you are driving along it is difficult to see or hear the enemy planes coming in. We were always positioned to give them that cover. We would see them driving through the desert. To stop the sun reflecting, they had no wind screens in their Jeeps. They had their heads fully covered and used goggles to keep the sand out. " (Robin Martin 2004)
Operation Crusader and Force
'E' When Operation Crusader was launched,
the
Operation Crusader was also the debut of the SAS. On the night of 16/17 November 1941 the SAS were tasked to attack Axis airfields in the Gagala-Timimi areas. This was a tragic operation. The parachute drop left the troops dispersed and separated from their munitions. Only a third of the troops reached the final rendezvous with the LRDG As a consequence of this failure, the SAS used the LRDG to insert and extract them in future operations. This marriage was a total success. When the Western Desert War was concluded, the SAS had accounted for over 400 Axis aircraft, tons of stores and had also restricted the free movement of the Axis forces at night.
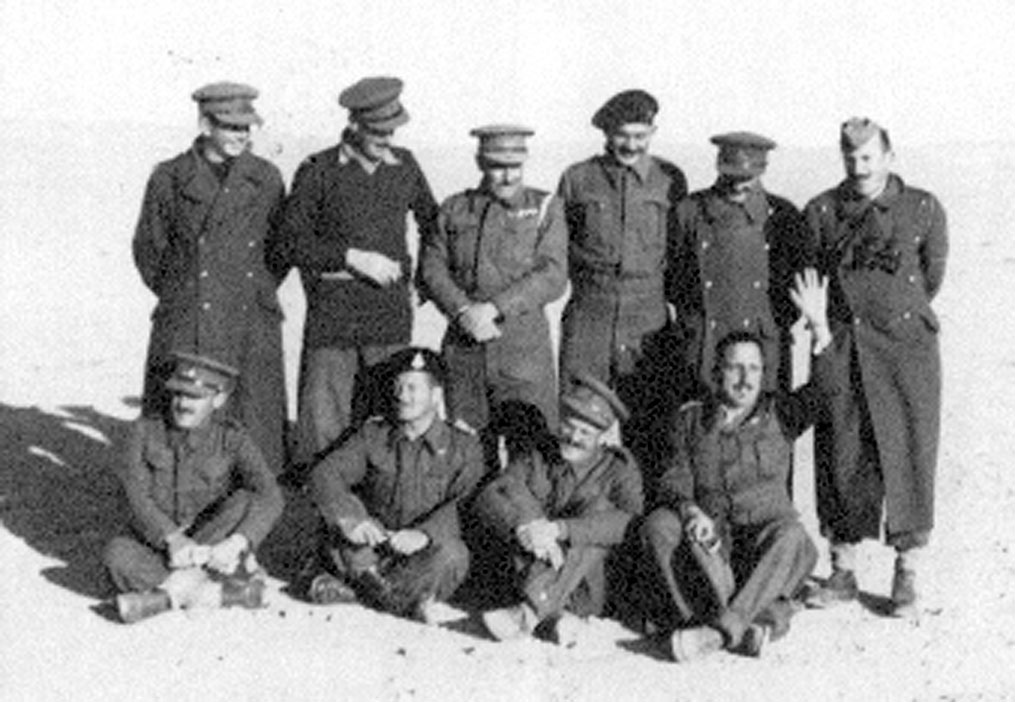
Unit Commanders Force 'E' Aug 1941
|
Col Jenkins |
Brig. Reid |
**** |
|
Allen |
***** |
|
Cornah |
|
He**** |
***** |
||
|
An
Indian Comrade 1942 |
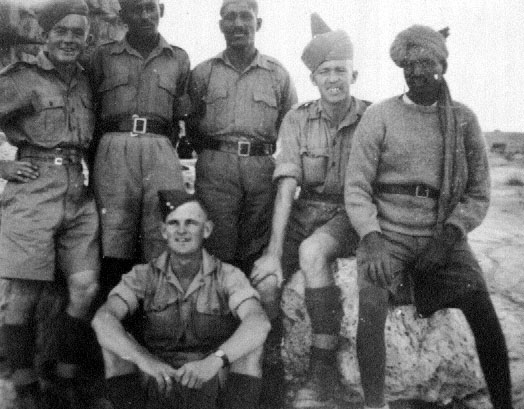
|
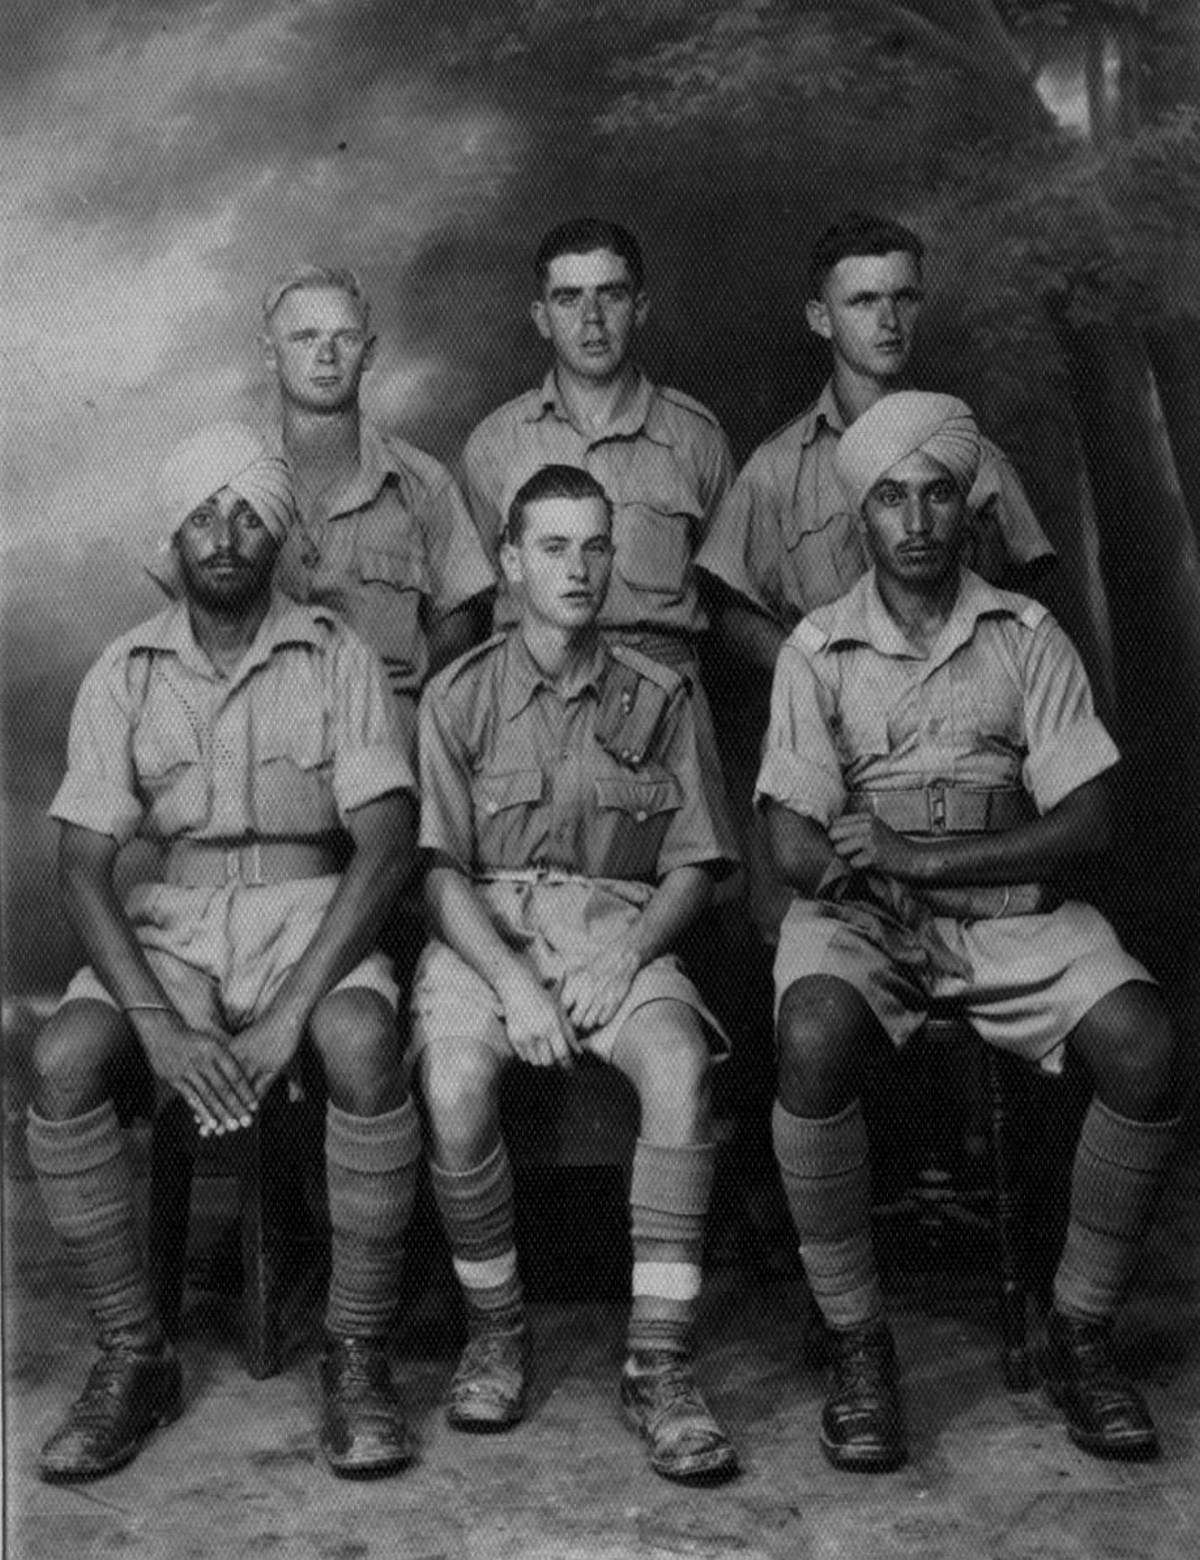
The Battery and 4/11 Sikhs |
The Diversion
When Operation Crusader started on 18/19 November 1941 the Battery were in the
area of Jarabub. This was south of the main battle and to the west of Siwa
Oasis. X Troop were out on the ground on a Brigade exercise on that date. Y and
Z Troop, accompanied by elements of Battery HQ were responsible for providing AA
protection to the mobile forces advancing on Jalo and Jikara forts. Y and Z
Troop, set off through the dreaded
Two days later,at noon on November 21st 1941, Gunner Paddy Toner, from Coleraine, was killed when the column was strafed by a German Bf 100 fighter. His truck had just taken a gun tractor in tow when the column was attacked by a group of Junkers, Fiat bombers and Bf 100's (Doherty p.183) Paddy was on board a Canadian 3 ton Chevvy, standing between two 40 Gallon drums of fuel when he was strafed.
During these operations, the British lifted the siege of Tobruk on December 4 1941 and the Germans retreated to El Aghelia.
For their deployment after the Siwa tasking, X
Troop went to Landing Ground 125 on November 20th 1941. This was a RAF Landing
Strip built up with supplies by the Long Range Desert Group. It was to be used
as a refuelling base for the long range bombers of the
"After Siwa, the
After the German air attack, X Troop moved to
Saunmu for January 4th 1942. The
Rommel's Counter Attack
"On that date, part of X Troop were
operating as a Jock Column towards Bengazi and
I picked up Bob Elliot and threw him in beside the driver, Mousey Warke. The Chevvy was flying along at this time and I crouched on the running board. Two or three 75's landed near us and I got a few bits of shrapnel in the right hip. It was like a red hot poker in my side. I shouted to Mousey Warke, "Drive on! I'm hit! I'm hit!"
A week later when we got ourselves sorted out and
were having a beer. The two
Willie Campbell Mousey Warke Jock Adams Charlie McGonagle Sam Lake
Also at that time, X Troop were at Matar. They split into two patrols to operate in Sahabi Areida. On that operation X Troop lost one Bofors gun and eight men south of Agedabia. These eight men were taken prisoner by the Italians.
Rommel captured
X Troop movement continued:
· Saunmu February 23rd 1942
· Machili February 20th 1942
· Tinimi February 29th 1942
· Acroma March 2nd 1942
· Tobruk March 5th 1942
· Gazala with the Polish Brigade March 10th 1942
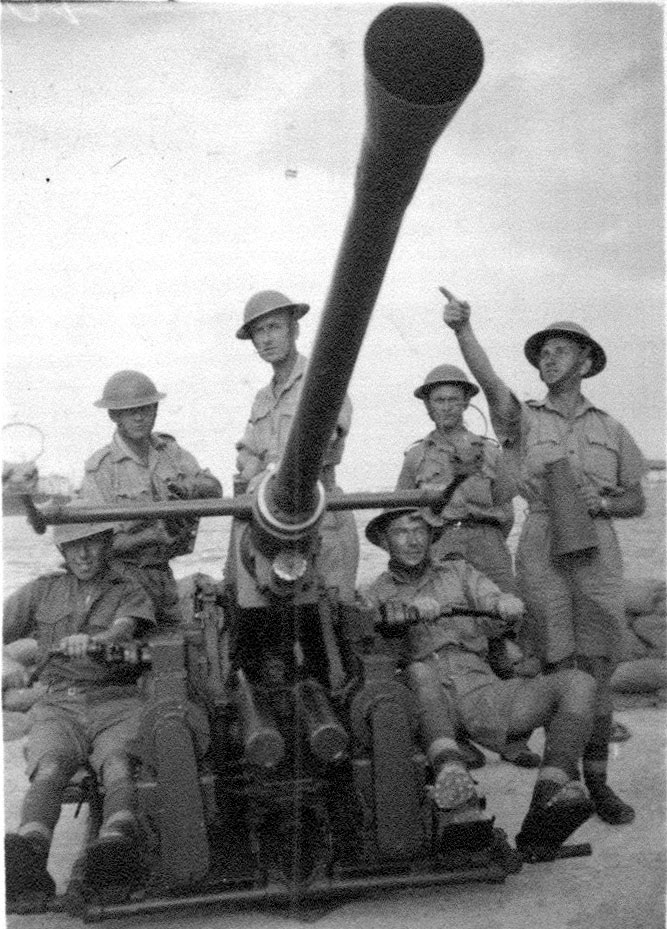
AA Support to Field Guns at
Gazala In February the
"The Polish Brigade, to a man, thought we were heroes. Every time a German plane came to our locations to attack us, we leapt out of the foxholes and manned the Bofors. We figured out it was better to shoot at the attacking planes and put them off aim rather than let them use us for target practice." Sam Lake (2004)
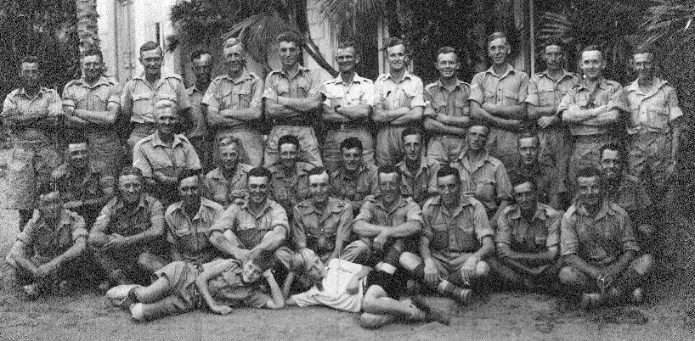
|
Tom
Gamble |
A Diamond |
Robert McCook |
Ron Hutchinson |
|
Sam
Nevin |
"On one occasion my gun shot down a German Recce plane. It crash landed close to the gun. When the pilot got out of the plane one of the gunners asked, "Sergeant, will we shoot him?" I hoped he was joking. I replied, "We have done our job, the plane is finished, he's our prisoner now" Sam Nevin (2004)
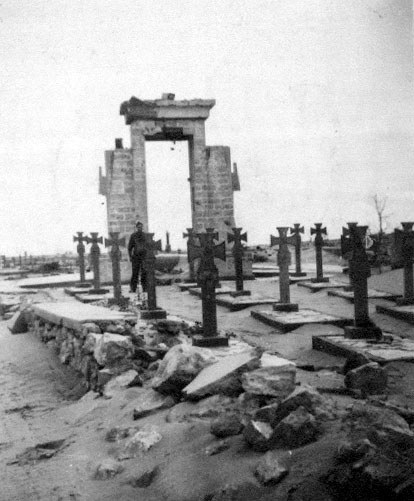
On February 9th 1942 Sgt Bertie Dunlop was killed in action at Gazala.
This was the third fatality for the
"Bertie Dunlop was doing a great job, crown wheel repairs to a tow truck. Two or three times a day the Stukas caught us on the Gazala Ridge in 1942. They used to come in groups of nine, always peeling off to the left at the start of an attack. I was on my hands and knees and made a run with Mousey Warke to a small banking for cover.
Bertie Dunlop (KIA 1942)
"Bertie Dunlop came from below the tow truck and was walking to the nearest cover. The bombs went off and Bertie clutched at his side with both hands and the blood was coming through his fingers. There was little we could do for Bertie. The first aid was limited in this area and he died". Spanky McGowan (2004)
"We were returning from troop HQ with some stores when the Stukas started to dive bomb the Gun Lines. We jumped from the lorry and took cover. The guns were firing at this time and the bombs fell far away from the Lines. But Bertie said to Willie Maxwell, "Willie, I'm hit!" He then collapsed and died about two hours later. " Robin Martin (2004)
The remainder of the patrols regrouped and were
able to break out. The troops from Jalo had joined up with the Guards Infantry
Brigade back to the stand at Gazala Ridge. On May 26, Rommel attacked Gazala
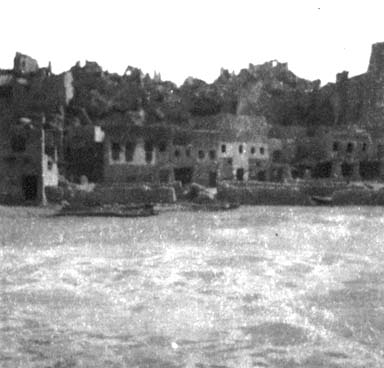
and then captured Tobruk on June 21st 1942. The
|
Just
back from twenty four hours on the Gazala Line - February 1942 Y
Troop Bofors Gun and Crew - Cold Tired and Hungry
Joe Bottemly Johnny
Teamby Marcus Wilton Dick Burges (Sitting) Harold Milford Willie Campbell, on the extreme right, along with Harry McWilliams were wounded on February 10th 1942 whilst operating on the Gazala Line Joe, Johnny and Dick were from English
Regiments. They had been posted into the Battery while they were in "The Stukas dive bombed us all the time
on the Gazala Line. We always tried to put them off on their dive in. They
were easy to hit after they dropped their bombs. It took them a long while to
turn out of the dive. We dropped at least three in one day." Sam Lake
2004 (Aged 86) |
On March 19th X Troop were on patrol until the
22nd. At this stage, L/Bdr Robert McDonald developed medical problems. He was
moved to the 12th GA Advanced Dressing Station. On March 24th the Troop was in
Tobruk. L/Bdr Robert McDonald had a perforated appendix at this
point. He was moved to SS Llandovery Castle for March 27th, then on to
X Troop tasking were as follows:
· Marsa Matruh March 27th 1942
·
· Bir Hamed Advanced rail head May 8th 1942
· Mashifa May 26 1942
· Dummy Railhead May 28th 1942
·
Cappuzzo 1941
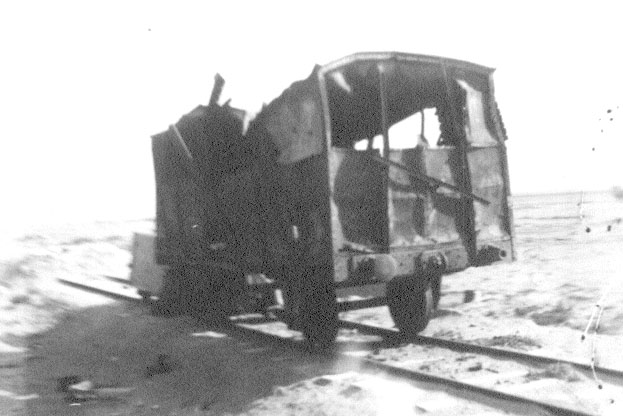
The Dummy Railhead 1942
The Dummy Railhead "The Dummy
Railhead was made up to look like a large rail yard. It had imitation rail
lines, goods wagons and piles of empty ammo boxes. This was all done in
At the same time the real tanks, trains and goods yards were well disguised and camouflaged. That way, the Germans would fail to spot them.
This was an important tactic because it saved thousands of lives by preserving the real materials for the battle field. It also wasted German munitions and units on dealing with these objects". Robin Martin (2004)
Rommel's Continued Offensive As the
Allied Army retreat (strategic withdrawal) continued, the
The Desert War was not going too well for
the Allies at all. At this stage of the war, the allies had intelligence reports
based on intercepted German signals. These indicated that Rommel was
planning a decisive winter campaign. Rommel's plan was to take Tobruk, which
had a port of strategic importance. He then planned to move on
Road Defence Using the
For road security the vehicle was made to look
like an ordinary covered vehicle. We very seldom patrolled the roads. At times
the Battery were tasked to escort convoys along
Lorry Mounted Breda Gun
Railway Defence "After the Gazala Lines we were relieved by the South African Division. They took over our 40mm Bofors Guns and we took their 20mm Italian Breda's for the Railway AA Defences. " Robin Martin (2004)
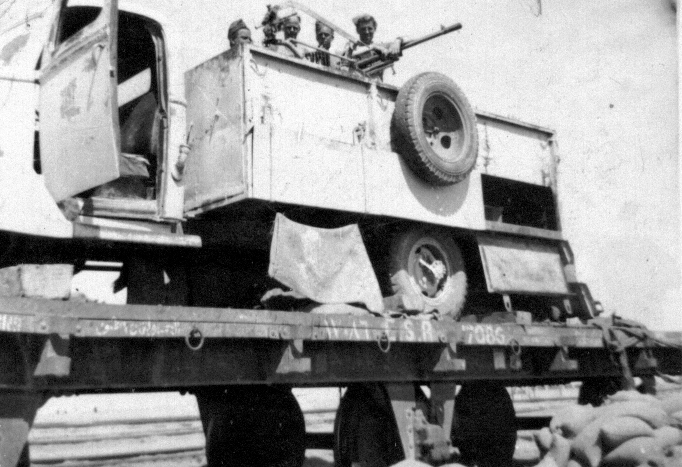
On Railway Defence with the 20mm Italian Breda Gun
From their taskings
on the Gazala Ridge, the
"The New Zealanders were in charge of the building and maintenance of the railway which ran parallel to the coast road. Bulldozers were used to build up the railway banking, the sleepers were laid and then the rails were put in place. This process was fascinating to watch but the workers were always reminding us to look out for German planes. The track was very rough because there was no firm ground. Only pink clay and sand.
This railway took a lot of pressure off the transporters using the coast road and increased the Allied re-supply capability. The German planes would fire on the trains around Mersa Matruh. Before we started protecting the trains the New Zealand company had lost a couple of engines in German Air attacks.
When we were protecting the train, there were
usually three
Only one week after we left , the Germans ran through the Gazala Lines. There were insufficient heavy guns to defend these lines. To start with, the Germans dive bombed the lines with the Stukas, then overran the lines with their tanks. We did not have the heavy guns to knock these tanks out.
When Rommel overran the
Gazala ridge, we were on AA Defence of the railway. We were
told to bring everything back. Everything that was useful was lifted, put on
the train and transported back to
Other units that left the Gazala Lines at the same time as we did, went on to Tobruk. When Rommel advanced on the Gazala lines, instead of by-passing Tobruk, he attacked. He captured the whole South African Division, the Polish Brigade and some Artillery. This included the 5th Light AA Battery." Robin Martin (2004)
After Capuzzo, X Troop was posted to Mashifa on June 19th 1942. When Tobruk fell to the Germans on June 20th, X Troop was in Marsa Matruh.
The Allied Forces commander, General Claude Auchinleck, an Ulsterman, did
not enjoy much success against the Germans at this stage of the war. When Tobruk fell to the German Army, it was with many losses in
terms of men and equipment. The 8th Army had been driven back to
Despite the British tanks superior armour and fire power, the tanks kept losing the battles. It appears that the British tank commanders used their tanks like cavalry horses. The trouble was that charging tanks are inaccurate weapons. They were also easy targets for a static enemy who used their 80mm AA gun as an effective tank buster. (Stewart, 2002)
|
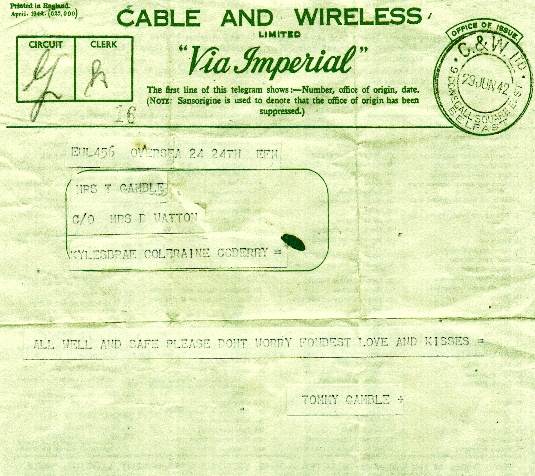
|
During WWII there were limited and restricted modes of communication. So, how do you let your loved ones know you and your brother were well after a major battle? Tom would send his wife a telegram whenever possible.
What happened just before June 29th 1942 ? On June 14th, the 8th Army had to withdraw
from it's forward positions in Gazala. On the June 20th 1942, Tobruk
was captured by the Germans and the 8th Army retreated to |
"Some of 5
These men kept going until they reached the
dockyards and met up with some Royal Navy personnel. They all helped each other
to escape by building rafts and launched these out into the
"Harry Campbell was recuperating at the hospital in Tobuk when Rommel attacked. He made his way to the shoreline and swam out to sea. He was picked up by a British Royal Navy destroyer. The destroyer took him to the Navy Base in Alexandria and he was returned to the Battery again." Sammy Lake (2004)
After the fall of Tobruk, the three Troops were designated A, B and C. Lance Bombardier Robert McDonald's 'A' Troop tasking was as follows:
· Juka June 25th 1942
·
Hamam, 40 miles from
· Amriya July 1st 1942
· Meena House Hotel July 4th 1942
'X' Troop outside Meena House
Hotel
|
xxxxx |
J Davidson |
N Morrison |
J Hale |
W Patterson |
|
R Simpson |
T McDonald |
R McDonald |
J Haslam |
G |
S Leslie |
M Gibson |
|
|
J McCloy |
G |
J |
T Shaw |
A Abraham |
xxxxxxx |
J Stirrock |
|
C Walsh |
|
||
|
J Brogan |
T Henry |
J Jones |
R McClelland |
|
D Christie |
J |
S White |
J Bills |
||||
Airfield AA Defence The
In August 1942 at Heliopolis, Cairo X Troop was Renamed A Troop
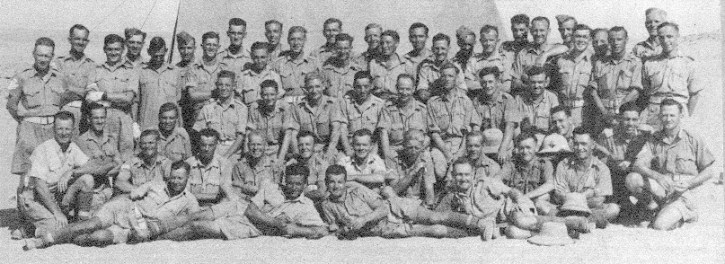
|
WR Maxwell RM Balmer J McClelland J McCloy B
Simms A Hunter J Culshaw T Gregory xxx C Taylor J Haslam W Simpson H Mc
Marnis W Patterson J Thomson J Jones xxx J Hale J Montgomery W Haslam J Mc
Grotty xxx R McClelland J Jackson H Gibson C Murray S White |
|
D Pringle B Simpson T Burman J Dorrien T
Shaw J Dooley J Adams J Leslie J Stirrock L Ebsworth xxx R Simson J Hourigan
J Taylor T Barr R McDonald TK Henry W Hammond J Brogan C Walsh
xxx J Davis F Walls |
|
R Martin H Montgomery J Bills SK Leslie |
In August 1942 at Heliopolis, Cairo Y Troop was Renamed B Troop
|
Willie Heward Bisto W.
Campbell Taffy Thomas Mousey Warke McKenzie
*** J Oliver E. Piney Bob McVeigh |
|
Ben Lambert V. |
|
*** J. Bottemly Spanky
McGowan John Hamill Johnny Hunter W. McCaw Capt.
Pelham *** Bob McCook S. Nevin Norman Walker *** Sgt
Wilson Hopkinson |
|
Marcus Wilton J.Diamond
*** Willie Watton Frank Henry J. Gilmore J
Hutchinson Jack Sharer |
|
*** *** Ralph Edwards
Jackie Barnard P Beavis McCluskey |
The Battery Reorganises On October
12th 1942, the
After the long sit at Heliopolis Airdrome from July 30th 1942, A Troop was posted to Bagda on October 13th 1942. Two days later L/Bombardier Robert McDonald was attached to Regimental HQ 2 LAA Regiment.
The
"When the battle started, I was lying in the sick bay as I had just started to show the symptoms of Malaria. The next morning I was surrounded by wounded and dying Allied and German soldiers. It was 1956 before the Malaria attacks stopped". Robin Martin (2004)
Army HQ Protection Re-equipped
again, the Battery returned to the
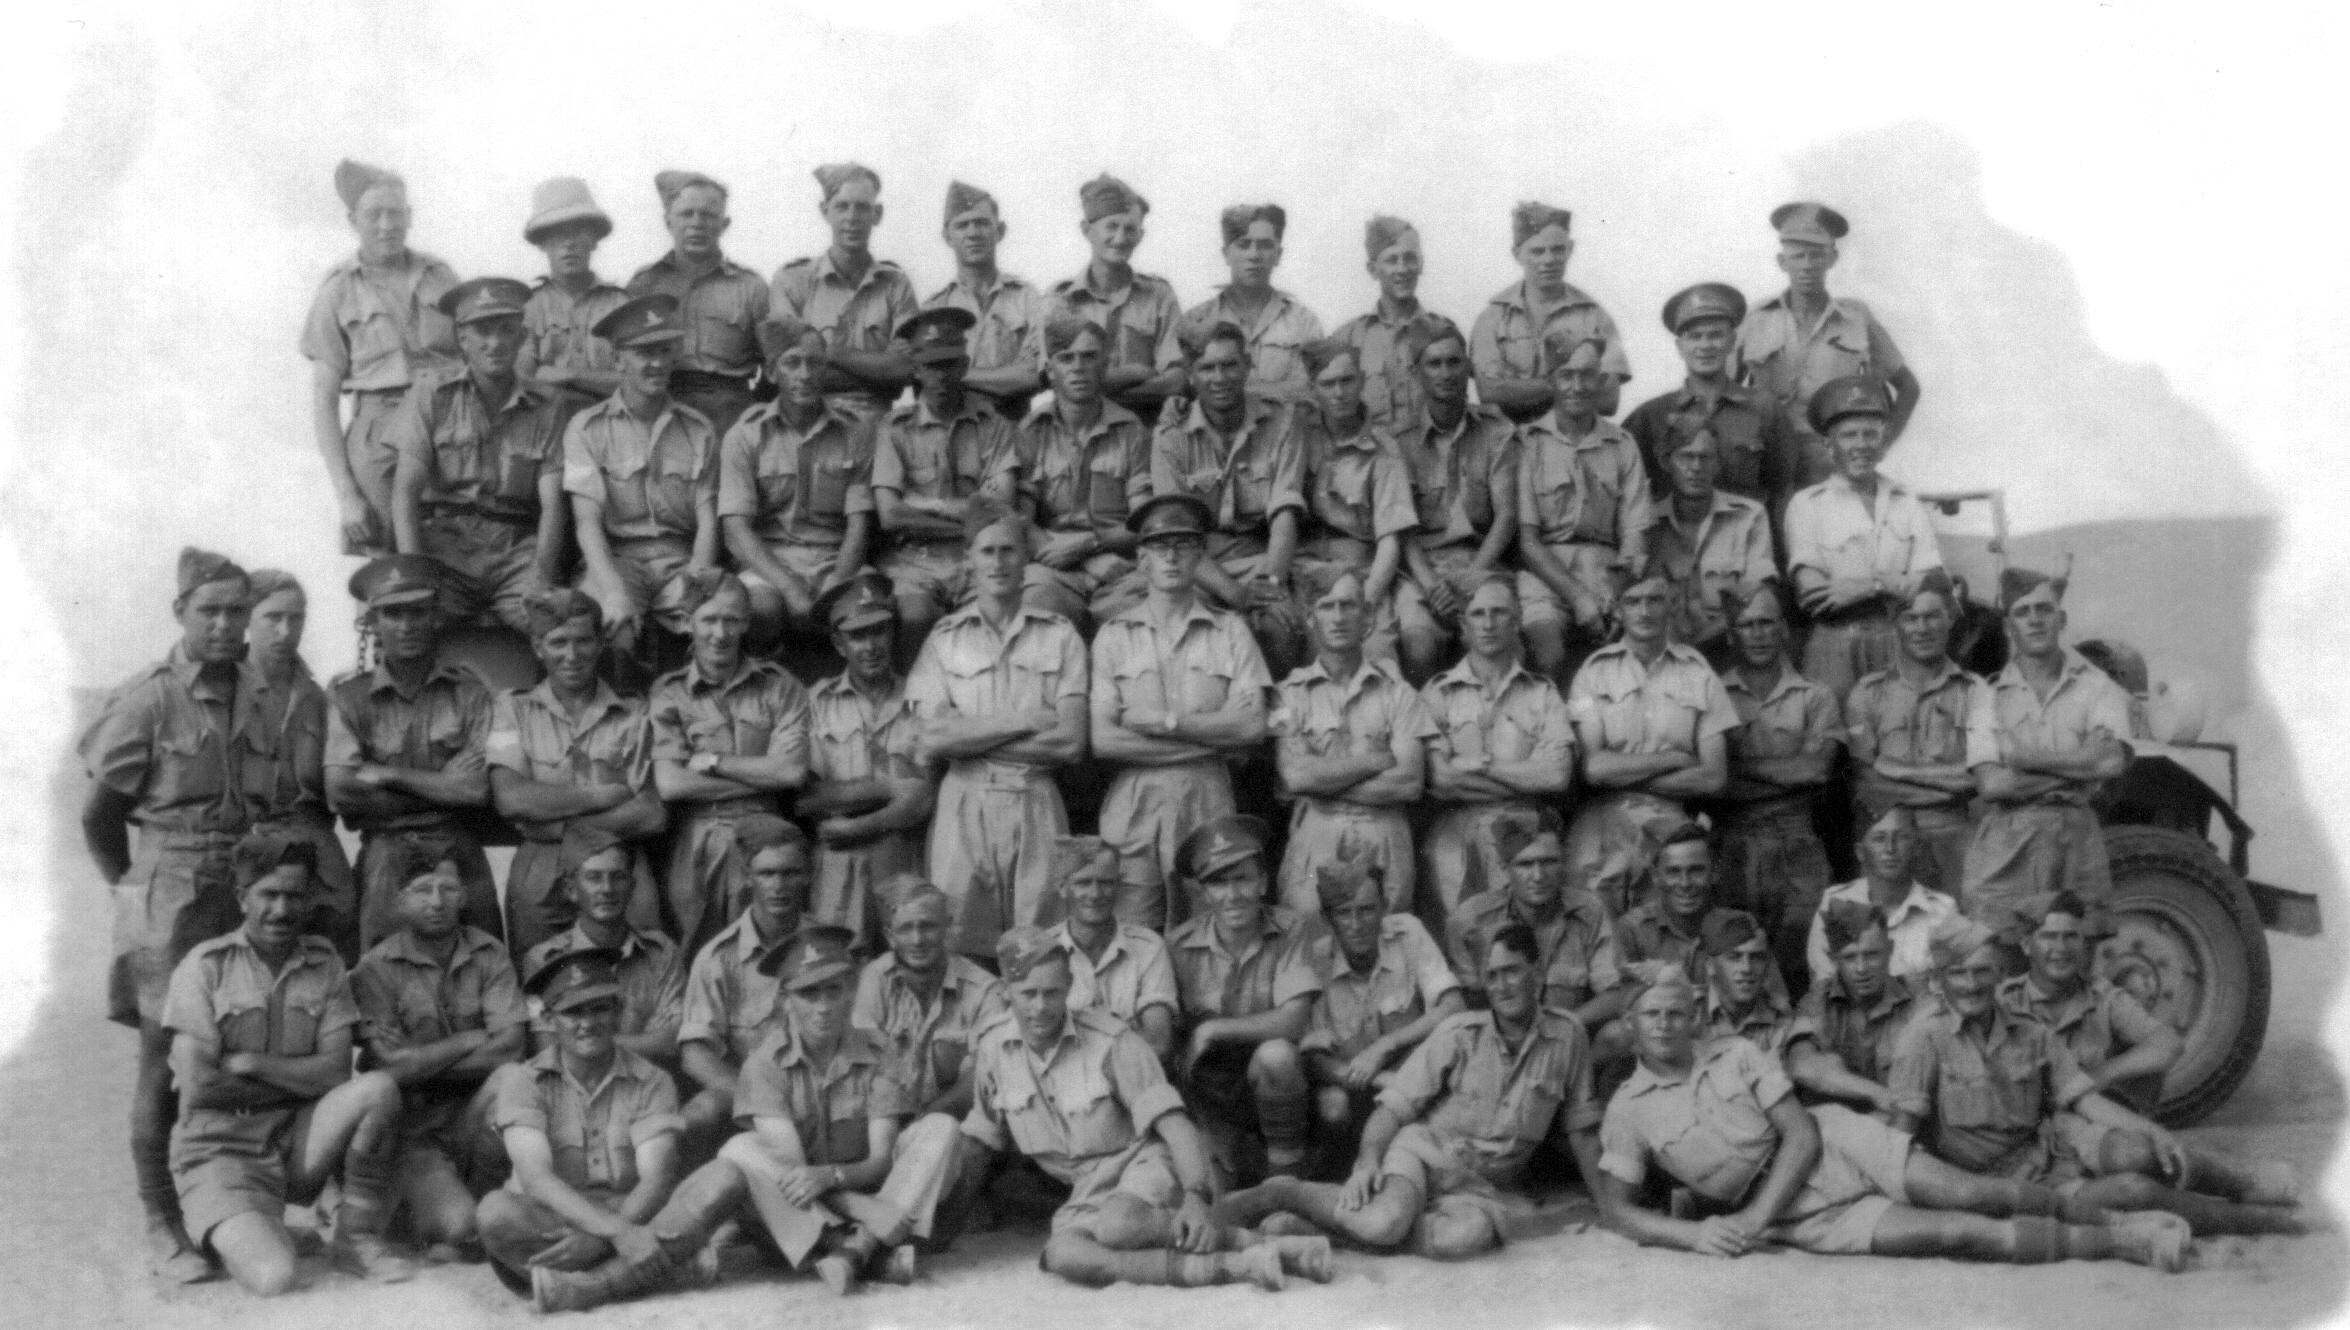
|
Monty
and A Troop In this photograph, |
|
l to Rt RJ Simpson B Balmer J Hale Monty J Dorrian W Patterson W Simpson
WE Simpson John
Jackson W Simpson |
"Near the end of the
George, The
"At
We were firing blind. The barrage bearings were based on the Radar information. Another source of information was the type of aircraft available to the enemy. Each aircraft had a known direction to come from and a specific height to fly at in order to release their bombs. This information gave the guns their own individual arc to fire in for each attack. As well as an arc of fire, each gun had a different elevation. Although the guns were firing blind, they were all firing in the same direction but at different heights. This created the "Wall of Steel" for the enemy aircraft to fly through." Robin Martin (2004)
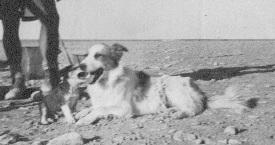
"When the first Umbrella Barrage started, George howled like a Banshee and then ran from the guns. We never saw George again". Spanky McGowan (2004)
A Troop Tasking for this period is as follows:
· Hamam Station Nov 2nd
·
· El Daba Nov 11th
· Fuka Nov 12th
· Marsa Matruh Nov 13
· Simla Nov 14
· Meshifa Nov 16
· Capuzzo Nov 18
· Tobruk Nov 21
· Markiba Nov 22
·
·
·
· R HQ January 1 1943
· Derna Feb 22
· Tobruk Feb 22
· Simla Feb 23
·
On Feb 26 1943 Bombardier Robert McDonald was
posted to the Middle East Signals School Depot at Maadi. He remained there
until April 25 1943. Bombardier McDonald then went on to Regimental HQ where he
was trained as a Regimental Signals Instructor from May 6th until June 6th
1943. He passed his Trade Test on June 22 1943. With
this qualification, he left the
The
·
To Bersis LG then back to
· To Misurata LG on March 26th
· To Sidi Omar on June 12th
· To Tobruk Railhead on July 17th
· To Gambut LG on August 8th
· To Derna LG on August 11th
·
Finally, the
The End of the Desert War The
With the Battery on board and a bow filled with
cement, the SS Almanzora sailed out on November 17th, 1943, calling at
"When we started this trip we were not too happy. No one told us where we were going. As soon as the ship turned West we were a bit more happy." Robin Martin (2004)
On this trip, Y Troop were under the command of the ship's
Gunnery Officer. They manned the ship's 40mm Bofor Guns for the return to
The next operational role for the